
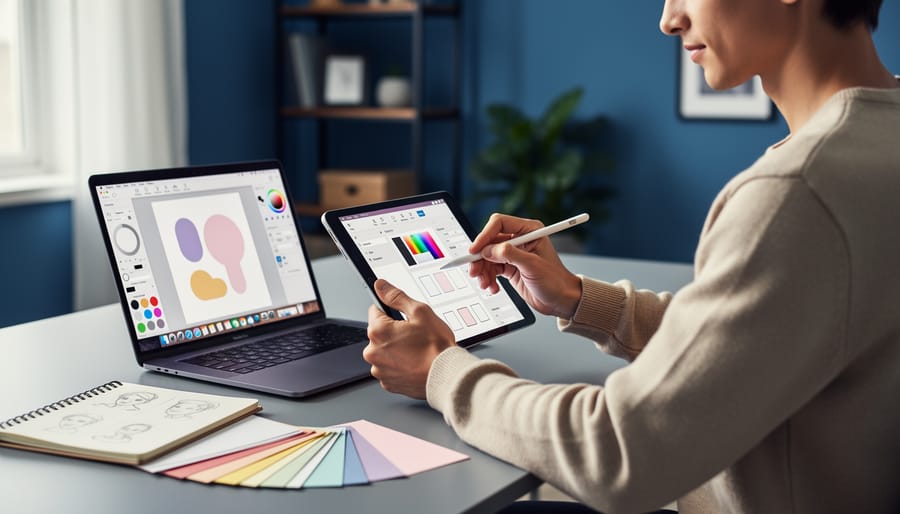
Learning graphic design as a tool for emotional wellness takes about 15 to 30 minutes daily and requires only free design software and a genuine curiosity about self-expression. The practice combines structured technical skill-building with open-ended creative exploration, allowing you to process feelings, build confidence, and develop a visual language for experiences that might feel too complex for words alone.
Digital design tutorials offer something traditional art therapy sometimes can’t: infinite undo buttons, forgiving experimentation, and the ability to create in complete privacy. You don’t need expensive supplies or a dedicated studio space. Many people find that the focused, step-by-step nature of following design tutorials creates a meditative rhythm that quiets anxious thoughts, while the creative choices involved in color, composition, and imagery activate parts of the brain connected to problem-solving and emotional regulation.
The therapeutic potential here isn’t about becoming a professional designer. It’s about finding a practical outlet that meets you where you are, whether you’re managing depression, processing trauma, or simply looking for healthier ways to cope with daily stress. The predictability of structured tutorials provides safety and containment, especially valuable when emotions feel overwhelming, while the creative freedom within those structures lets you express what’s uniquely yours.
This guide walks you through choosing the right tools, setting up a supportive practice environment, and building design skills progressively in ways that prioritize your mental wellbeing over technical perfection. You’ll learn when to push forward, when to pause, and how to recognize when a creative practice is genuinely serving your healing versus becoming another source of pressure.
What You’ll Need to Get Started
The good news? You don’t need expensive equipment or professional-grade software to begin using graphic design as a therapeutic tool. Most people already own everything necessary to start their healing journey through creative digital expression.
Hardware Options
Your current device is probably enough. A smartphone, tablet, or basic computer can all support therapeutic design work. Smartphones offer the most accessible entry point, with many people already carrying a capable creative studio in their pocket. Tablets provide a middle ground, offering larger screens and sometimes stylus support for more intuitive drawing. Laptops and desktop computers grant the most screen space and processing power, but they’re not required to begin.
If you’re using a phone or tablet, a stylus can enhance the experience, though your finger works perfectly well for many activities. Budget styluses start around $15, while name-brand options run higher. Choose based on what feels comfortable in your hand, not what’s most expensive.
Software and Apps
Here’s where accessibility really shines. The design software landscape in 2026 offers robust free and low-cost options:
- Free mobile apps: Canva (free tier), Adobe Express (free version), Over, PicsArt provide guided templates and tutorials built into the interface
- Browser-based tools: Canva web version, Figma (free for individuals), Photopea work on any device without downloads, perfect for those sharing computers or working on library devices
- Desktop programs: GIMP (completely free), Krita (free, excellent for painting-style work), Affinity Designer (one-time purchase around $70, no subscription)
- Subscription options: Adobe Creative Cloud starts around $20 monthly for students, offering access to Photoshop and Illustrator if you want industry-standard tools
Start with free options. Paid tools don’t create more healing than free ones.
Finding Beginner-Friendly Tutorials
YouTube remains the richest free source, with creators offering step-by-step guidance for every skill level. Search for terms like “graphic design for beginners” or “easy Canva tutorial” to find gentle entry points. Skillshare and Domestika offer structured courses, though these require subscriptions. Many design software companies provide their own tutorial libraries, tailored specifically to their interfaces.
Look for tutorials marked “beginner,” “easy,” or “no experience needed.” The best therapeutic tutorials move slowly, explain each step clearly, and encourage experimentation rather than perfection.
Important Considerations Before You Begin

Before you dive into graphic design tutorials as a therapeutic practice, it’s worth recognizing that this approach works best when you’re already in a reasonably stable emotional place. If you’re experiencing a mental health crisis, active suicidal thoughts, or severe symptoms that interfere with daily functioning, professional support should come first, creative exploration can complement therapy, but it shouldn’t replace it when you genuinely need clinical help.
Screen time deserves honest attention here. While exploring the pros and cons of digital art reveals genuine therapeutic benefits, hours hunched over a screen can intensify anxiety, disrupt sleep, and leave you more depleted than restored. Set a gentle time boundary, maybe 20 to 30 minutes to start, and check in with your body. If your shoulders tense, your eyes burn, or you feel agitated rather than engaged, that’s information worth respecting.
Perfectionism often sneaks into creative work disguised as dedication. You might find yourself replaying a tutorial five times, frustrated that your gradient doesn’t match the instructor’s exactly, or deleting everything because it “isn’t good enough.” That’s self-criticism masquerading as learning. If a tutorial leaves you feeling defeated or triggers harsh inner dialogue, pause. Choose something simpler, more playful, or step away entirely. The goal is expression and exploration, not flawless execution.
Finally, trust your gut about what feels healing versus what feels harmful. Some design themes, creating memorial graphics, exploring dark imagery, working with specific colors tied to trauma, might stir up more than you’re ready to process alone. There’s no shame in switching to a lighter tutorial or recognizing you need guidance from a trained art therapist for deeper emotional work.
Step-by-Step: Turning Design Tutorials Into Therapeutic Practice
Step 1: Choose a Tutorial That Matches Your Emotional Needs
Start by noticing how you’re feeling right now. Are you restless and need to move energy around? Drawn to quiet, contemplative work? Craving structure or wanting to break free from it? Your emotional state is the compass for choosing a tutorial that will actually help rather than frustrate.
If you’re feeling overwhelmed or anxious, look for color-focused tutorials, color mixing, gradient creation, or palette building. Working with color offers immediate sensory feedback and can shift your nervous system toward calm. The repetitive actions of adjusting hues and saturation become meditative, and there’s no “wrong” answer to slow your racing thoughts.
When you’re struggling to express something difficult or feel unheard, typography tutorials give you a way to literally find your voice. Experimenting with fonts, letter spacing, and text placement lets you communicate through visual weight and style rather than just words. It’s especially helpful when emotions feel too big or tangled to name directly.
Feeling scattered or out of control? Layout and grid-based tutorials provide structure. Organizing elements on a page, aligning shapes, creating balance, these activities mirror the internal organization you’re seeking. The clear rules feel reassuring rather than restrictive.
For raw, undefined emotions that need release, choose abstract shape tutorials. Manipulating organic forms, layering textures, creating compositions without literal meaning, this work doesn’t demand that you explain yourself. You can simply make something that looks like how you feel.
Step 2: Set Up Your Therapeutic Creative Space
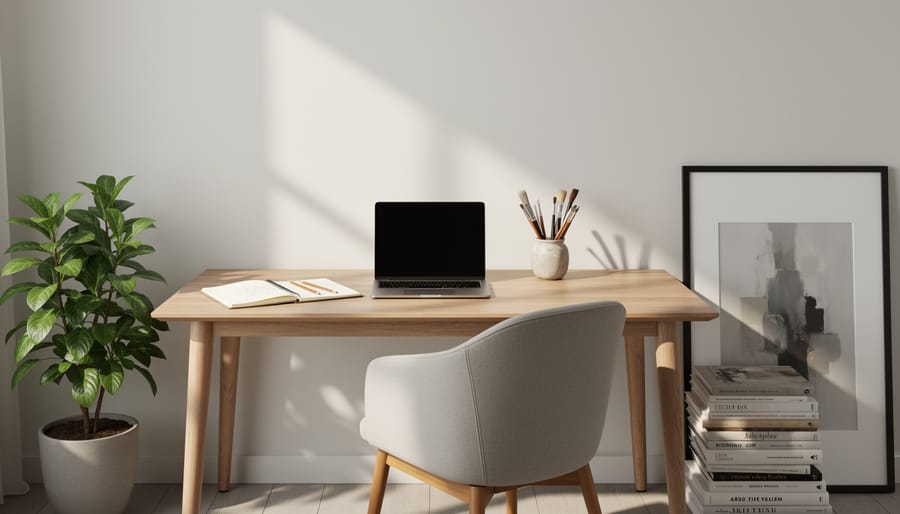
Your physical and digital environment shapes your emotional experience during creative work. Before you open your first graphic design tutorial, take a few minutes to create conditions that support both learning and healing.
Start with your physical comfort. Choose a chair that supports your posture and a surface at a comfortable height. Adjust your screen brightness to reduce eye strain, softer lighting often feels less intense when you’re emotionally vulnerable. If overhead lights feel harsh, consider a desk lamp or natural window light instead.
Next, protect your focus. Put your phone on “Do Not Disturb,” close unnecessary browser tabs, and silence notifications. Each interruption pulls you out of the therapeutic flow you’re trying to create. This isn’t about isolation, it’s about giving yourself uninterrupted space to explore and express.
Gather small comfort items within reach: water, tea, a blanket, or anything that helps you feel grounded. Some people find having a journal nearby helpful for jotting down feelings that surface during the creative process.
Set a gentle time boundary before you begin. Twenty to thirty minutes is often enough for a meaningful session without causing screen fatigue or emotional overwhelm. You can always continue later, but starting with a defined window helps you approach the work with intention rather than drifting into perfectionist spirals. When your time is up, you’ll pause and reflect, not because you’ve finished, but because you’ve honored the time you committed to your healing.
Step 3: Follow the Tutorial With Self-Compassion
As you work through the tutorial, treat each step as an invitation rather than a command. If the instructor says to use a specific color palette but you feel drawn to different shades, follow that instinct. This isn’t about replicating someone else’s vision perfectly; it’s about discovering what resonates with you emotionally. When you make a “mistake” or the design doesn’t turn out as expected, pause and notice your reaction without judgment. That frustration, disappointment, or surprise is valuable information about your inner state.
Integrate art therapy mindfulness by checking in with yourself every few minutes. How does your body feel? Are you holding tension in your shoulders? Is your breathing shallow or relaxed? If you notice yourself spiraling into perfectionism or harsh self-criticism, gently redirect your attention back to the simple act of creating. You might say to yourself, “I’m just exploring,” or “There’s no wrong way to do this.”
Give yourself permission to pause, skip ahead, or abandon a tutorial entirely if it stops feeling supportive. The goal isn’t completion; it’s connection with your creative self and emotional awareness through the process.
Step 4: Add Personal Expression to the Design
This is where your practice shifts from learning technique to genuine self-expression. With the tutorial’s structure complete, you’ve built something functional, now make it yours.
Start small. Change one color to reflect how you’re feeling today. If the tutorial used cheerful yellow but you’re drawn to deep blue, swap it. Replace the sample text with a word that matters to you right now: “breathe,” your grandmother’s name, a mantra you need to hear. These aren’t mistakes; they’re conversations with yourself through design.
Look at the shapes and elements you’ve created. What would happen if you duplicated that circle to represent different parts of your identity? Could you layer textures that remind you of comfort, soft gradients like blankets, rough patterns like the bark of a tree you climbed as a child? The tutorial taught you how to use the tools. You decide what story they tell.
If your design feels complete with just a single personal touch, that’s enough. Some days, changing the background to match your mood is the entire therapeutic moment. Other times, you might spend an hour weaving in symbols, photos, or abstract shapes that externalize what you can’t quite say in words.
There’s no rubric here. The value isn’t in how much you change, it’s in the permission you give yourself to claim this creation as authentically yours.
Step 5: Reflect on the Creative Process
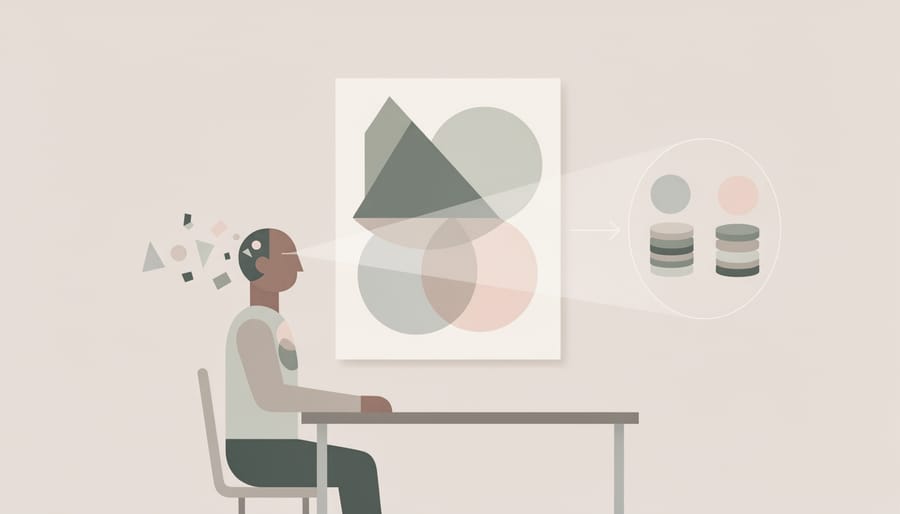
Once you’ve finished creating, pause before closing the program. This reflection phase transforms a simple tutorial exercise into genuine therapeutic work.
Start by noticing how you feel right now compared to when you began. Has your mood shifted? Do you feel lighter, more grounded, or perhaps unexpectedly emotional? There’s no right answer, just awareness.
Ask yourself these questions, either mentally or in a journal: What emotions surfaced while I was designing? Did certain colors, shapes, or choices feel significant? What surprised me about this process or the finished piece? If this design could speak, what would it say about where I am right now?
Look at your creation without judgment. You’re not evaluating technical skill, you’re witnessing your inner world made visible. Some people find their designs reveal feelings they hadn’t consciously acknowledged. Others simply enjoy the calm that comes from focused creative flow.
Consider writing a few sentences about the experience. Even brief notes like “felt frustrated with the text tool but proud I kept going” or “the blue I chose feels peaceful” help you track patterns over time.
This reflection deepens the therapeutic value. You’re not just learning design, you’re learning about yourself.
How to Know It’s Working (And What to Do Next)
The most reliable sign that your graphic design practice is working therapeutically is a shift in how you feel during and after creating. You might notice yourself entering a calmer, more focused state while working through tutorials, or feeling a sense of release when expressing emotions through color and composition. Some people report better sleep after an evening session, while others find themselves processing difficult experiences more clearly once they’ve translated feelings into visual form.
Watch for growing emotional awareness. If you start recognizing patterns in your design choices (reaching for dark colors during stress, experimenting with chaotic layouts when feeling overwhelmed, creating structured grids when seeking control), you’re developing the self-understanding that makes this practice therapeutic. You don’t need to create masterpieces. The healing happens in the process itself.
Other indicators include reduced perfectionism over time, increased willingness to experiment, and moments when you catch yourself fully absorbed in the work rather than ruminating on worries. Creative confidence builds gradually. You might surprise yourself by sharing a design with a friend or attempting a more complex tutorial than you thought possible.
If your practice feels beneficial, keep going. Challenge yourself with slightly more advanced tutorials as your skills grow, or choose an online program if structured learning appeals to you. Joining online creative communities can provide encouragement and reduce isolation. Share your work only when it feels safe, not obligatory.
If you’re finding consistent relief but want deeper support, consider transitioning to professional guidance. Online art therapy combines creative expression with trained therapeutic oversight, offering more tailored approaches to your specific mental health needs. Your self-guided practice has value on its own, and it can also serve as a bridge to more comprehensive care when you’re ready.
Common Questions About Using Design Tutorials for Healing
You’re probably wondering whether this approach is right for you, or whether you’re “doing it right.” These questions come up constantly, and they’re worth addressing directly.
Do I need artistic talent or previous design experience?
Not at all. The therapeutic value comes from the process of creating, not the finished product. Beginner tutorials are designed for people with zero experience, and your emotional engagement matters far more than technical skill.
Can graphic design tutorials replace professional therapy?
They can’t replace therapy, but they can complement it beautifully. Think of creative tutorials as a self-care tool between sessions or a way to explore feelings before you’re ready to talk about them. If you’re experiencing severe symptoms or crisis, reach out to a mental health professional.
How much time should I spend on this practice?
Start with 15-20 minutes and see how you feel. Some people find short daily sessions work best, while others prefer longer weekend explorations. Listen to your energy levels, if it starts feeling like an obligation rather than a release, scale back.
What if I don’t like what I create?
That’s completely normal and sometimes even useful information. Disliking your work can reveal perfectionist tendencies, self-criticism patterns, or emotions you weren’t consciously aware of. The reflection process matters more than the aesthetic result.
Finding tutorials that reflect your cultural identity and experiences can feel challenging. Look for creators who share your background on platforms like YouTube, Skillshare, and Instagram. Search for design tutorials in your first language, or seek out communities focused on culturally specific visual traditions, many exist, though they might take some digging to find.
Research into art-making and mental health is growing. Studies show that creative activities can reduce anxiety, improve mood, and increase self-awareness. While most research focuses on traditional art therapy with a trained therapist, the principles of creative expression as a healing tool apply to self-guided digital work too. You’re not imagining the benefits, there’s real evidence supporting what you might already be feeling.
You don’t need expensive software, formal training, or years of experience to begin using graphic design tutorials as a pathway to healing. All you need is curiosity, a device, and the willingness to explore what happens when you give yourself permission to create without judgment. This practice isn’t about becoming a professional designer. It’s about discovering that moving colors across a screen, arranging words that matter to you, or shaping an image that reflects how you feel can shift something inside you that words alone sometimes can’t reach.
Start small. Choose one tutorial that speaks to where you are right now. Spend twenty minutes this week. Notice what happens. That’s enough.
If you find yourself wanting more structured guidance or a space where creativity meets professional therapeutic support, Art Therapy Canada offers programs designed to help you explore these connections more deeply. But whether you work alone with tutorials or alongside a trained therapist, remember this: your creative expression has value simply because it’s yours. The act of making something, of translating your inner world into visible form, is already healing work. You’re not fixing yourself. You’re allowing yourself to be seen, even if only by you.
